How to Choose Custom Car Emblems for Your Brand
Choosing custom car emblems is more than placing a logo on a grille. It gives drivers a small, highly visible impression of your brand. Shape, finish, and placement all influence whether an emblem feels distinctive or out of place. A bright chrome crest may suit a premium vehicle, while a restrained matte badge can feel more at home on a rugged model.
The best choice starts with the vehicle itself. Consider the grille’s curves, the available mounting space, and how the emblem will look from a few steps away. Material matters, too: metal can offer a substantial feel, while quality molded materials allow more flexibility in shape and color. Details matter. A finish that looks impressive indoors may show fingerprints or wear more clearly outdoors, so request samples when possible and assess them in natural light.
This guide explains how to compare design options, materials, finishes, sizing, and attachment methods before committing to a production run. It also highlights practical questions to ask suppliers, including how they check dimensions and maintain consistent color across batches. No single emblem works for every brand, and even a well-made design can miss the mark if it clashes with the vehicle. Reviewing prototypes and gathering feedback may take extra time. It is usually time well spent.
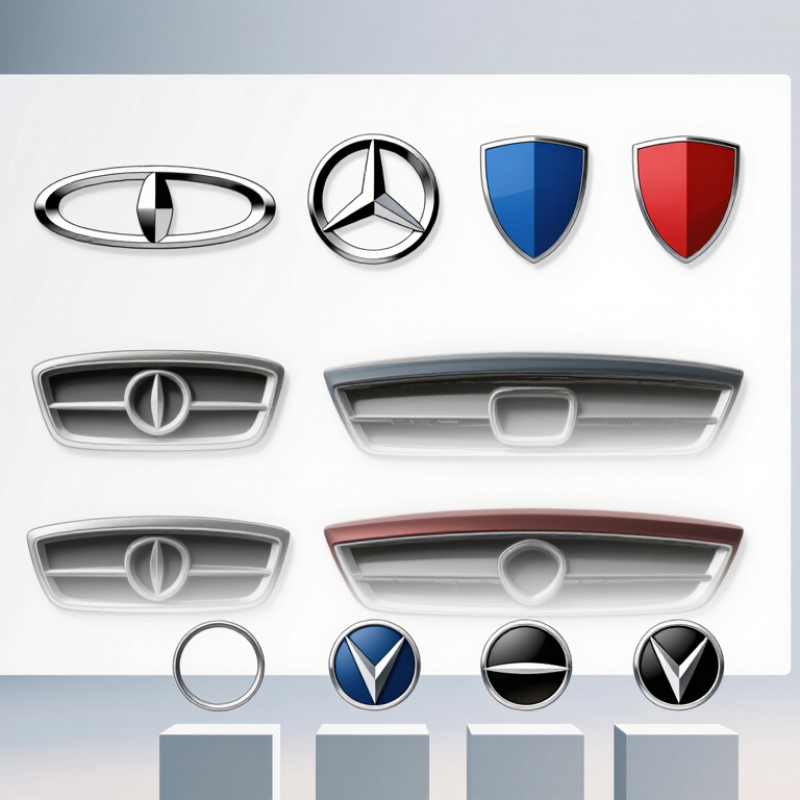
Define Your Brand’s Emblem Goals and Requirements
Before selecting a custom car emblem, define what it must communicate: heritage, performance, service, or a new product line. Choose one primary message. Too many symbols can make a small badge hard to read. SEMA’s 2023 market research estimated U.S. specialty-equipment sales at $52.3 billion in 2022, showing the scale of vehicle personalization. That figure does not predict demand for your emblem, but it supports treating customization as a serious design decision. Set requirements for size, placement, finish, quantity, and target cost. Check how the design looks on a curved trunk lid and from several steps away. Small details matter.
Tips: Ask drivers to compare two or three sketches at actual size. Note which details they remember after a short glance. Keep the feedback. It may challenge your favorite concept.
Specify materials and attachment methods with the supplier before approving production. A metal badge, molded resin emblem, and printed insert can differ in weight, finish, and weather resistance. Request physical samples, then inspect edges, color, and adhesion after exposure to sunlight and washing. Confirm any surface preparation needed. Plan for replacement, too; a design that is difficult to remove may complicate repairs. I have seen teams settle dimensions too early. That part deserves another review. The final brief should state measurable requirements, not just “premium” or “bold.”
Choose an Emblem Style, Shape, and Material
A custom car emblem should match the character of the vehicle, not just look impressive on a screen. A raised metal design feels substantial and catches light along its edges. A flat, printed emblem can keep fine lines clear and reduce weight. Keep the details simple. Tiny lettering may disappear from a few steps away, especially on a curved panel.
Shape affects both recognition and fit. A wide emblem can sit neatly on a grille, while a compact shape may suit a trunk lid or wheel center. Measure the mounting area before finalizing the outline. Leave room around holes, clips, or adhesive pads. A drawing can look balanced, yet feel crowded once fitted. That mismatch is easy to overlook.
Material choices should reflect weather, cleaning habits, and the surface beneath the emblem. Stainless steel offers a crisp finish, while durable molded plastic allows more color and shape options. Check how each option handles sunlight, moisture, and routine washing with the supplier. Ask for a physical sample when possible. It reveals details a screen cannot: edge sharpness, color shifts, and surface texture. There is no perfect choice. A glossy finish may photograph well but show fingerprints, and I would reconsider it for a frequently touched area.
Select Colors, Finish, and Branding Details
Color sets the emblem’s first impression, but contrast determines whether it stays readable. Choose a main color that matches your brand palette, then check it against the vehicle’s paint. A dark emblem can disappear on a black trunk lid. For small lettering, strong contrast matters more than subtle color shifts. Ask for a physical sample when possible; screens often make metallic tones look brighter than they are.
Finish affects both appearance and upkeep. Gloss catches light and highlights crisp edges, while satin gives a quieter look and can disguise minor fingerprints. Brushed metal adds visible texture, but fine lines may lose clarity on a compact emblem. Consider where the piece will sit: a hood badge faces more sun and road grime than an interior detail. Confirm the material and protective coating with your supplier, and test the design at its actual size. A mockup may look balanced on screen, yet feel crowded on the vehicle. I would revisit spacing before approving it; that part is easy to overlook.
Tips: Keep the logo, lettering, and color count simple. View a sample in daylight and shade. Check that small text remains legible from a few steps away, then review the placement on the vehicle before production.
Check Fit, Durability, and Manufacturing Options
A custom car emblem should fit the vehicle’s shape, not just the dimensions on a screen. Measure the mounting area, including its curve, available depth, and distance from nearby trim. A flat emblem can lift at the edges on a curved panel. Small gaps matter. Check whether the design needs an adhesive backing, locating pins, or screw holes, and confirm that these match the surface and installation method. Request a physical sample when possible. A drawing can look perfect, yet the first test-fit may reveal an awkward edge or blocked sensor area. That is worth catching early.
Durability depends on the material, finish, and conditions around the vehicle. Stainless steel and coated alloys can suit exposed locations, while outdoor-rated plastics may offer lighter weight and more shape options. Ask how the finish handles UV exposure, road salt, water, and regular washing. Manufacturing choices affect both detail and cost: stamping suits consistent, thinner shapes; casting allows more depth; CNC machining can produce crisp edges but may increase unit cost. Discuss minimum order quantities, color matching, and production tolerances before approving tooling. One detail teams sometimes overlook is the adhesive specification. A strong emblem is still a poor choice if its backing softens in summer heat or fails on a textured panel. Samples and clear fit checks help, though they add time. That trade-off is easy to underestimate.
Compare Suppliers, Costs, and Sample Designs
Compare suppliers using the same written brief: dimensions, material, finish, attachment method, and target quantity. Ask each vendor to separate tooling, unit price, setup fees, packaging, and freight. A low unit quote may hide a large mold charge or a high minimum order. Request the expected production timeline and written tolerances for color and dimensions. Cheap can mislead.
Before choosing, check how samples are made. A digital render shows shape, but not weight, edge quality, or how the finish catches light. Request a physical sample in the intended material, plus a close-up of its back and mounting hardware. Test it on a curved panel if that matches the installation. Look closely. Note small defects, even ones you might forgive during a first review. The sample may be hand-finished, so ask whether bulk pieces will match it.
Compare suppliers on response clarity, not price alone. A dependable supplier explains what may change between sample approval and production. They should flag details that could raise costs, such as deep relief or multiple finishes. Keep approved artwork, sample photos, and quote revisions together. It is tempting to choose the sharpest-looking design immediately; pause and consider whether tiny lettering will stay readable at actual size. Ask for a revised sample if a key detail is unclear. Slightly inconvenient, but useful.
